Resistance bands are a practical strength-training tool for adults over 40. They are lightweight, affordable, easy to store, and adaptable to many fitness levels. Most importantly, bands can help you train major muscle groups without needing heavy weights or a crowded gym.
If you are returning to exercise, starting strength training for the first time, or looking for a low-impact option to support healthy aging, resistance band exercises for beginners over 40 can be an excellent place to start. The key is using the right band tension, moving with control, and progressing gradually.
Why Resistance Bands Can Be Helpful After 40
Strength training becomes increasingly important with age. Regular resistance exercise can help maintain muscle, support bone health, improve balance, and make everyday activities feel easier. Carrying groceries, standing from a chair, climbing stairs, and lifting items overhead all require strength and stability.
Resistance bands have a few features that make them especially useful for beginners:
- Adjustable resistance: You can make many exercises easier or harder simply by changing the band tension or your position.
- Joint-friendly training: Bands do not eliminate joint stress, but their smooth resistance may feel more comfortable than some heavy free-weight movements.
- Convenience: A short home workout is easier to fit into a busy schedule.
- Support for balance: Many band movements can be performed seated, standing near a sturdy support, or with a stable stance.
- Full-body training: A few bands can work your legs, back, chest, shoulders, arms, and core.
That said, bands still require attention to technique. A light band can create a surprising amount of tension when stretched, so start conservatively.
Choosing Resistance Bands for Beginners
There are several kinds of resistance bands, and each has a useful role.
- Loop bands: Small, flat loops often used around the thighs, ankles, or feet. They work well for glute and hip exercises.
- Long loop bands: Larger continuous loops that can be anchored, stepped on, or used for rows and presses.
- Tube bands with handles: Useful for exercises that resemble cable-machine movements, such as rows, chest presses, and biceps curls.
- Therapy bands: Flat bands without handles, often available in lighter resistance levels and useful for mobility and rehabilitation-style movements.
For most beginners, a set with light, medium, and heavier options is practical. Start with a band that allows you to complete your repetitions with steady form while still feeling challenged near the end of the set.
A simple rule: If you cannot control the movement or you have to hold your breath to finish the repetitions, the band is probably too heavy. If you could easily do many more repetitions, it may be too light.
Safety Tips Before You Start
Before beginning resistance band exercises, inspect your equipment. Do not use bands with cracks, tears, worn spots, or damaged handles. A broken band can snap back unexpectedly.
- Warm up for five to 10 minutes with easy walking, marching in place, or gentle mobility movements.
- Use a secure anchor point if anchoring a band. A closed door anchor designed for resistance bands is usually safer than wrapping a band around unstable furniture.
- Keep the band away from your face and avoid overstretching it.
- Move slowly and avoid jerking, bouncing, or rushing through repetitions.
- Keep a soft bend in your knees rather than locking them.
- Stop if you feel sharp pain, dizziness, numbness, or unusual shortness of breath.
If you have a recent injury, uncontrolled blood pressure, significant joint pain, balance concerns, or a medical condition that affects exercise, ask a qualified healthcare professional or physical therapist for individualized guidance before starting.
Form Principles for Resistance Band Exercises
Good form matters more than using a stronger band. Focus on these basics during every exercise:
- Maintain a tall posture: Keep your ribs stacked over your hips rather than excessively arching your lower back.
- Brace gently: Tighten your midsection as if preparing for a light cough. This helps create a stable base for movement.
- Control both directions: Do not only focus on pulling or pressing against the band. Return slowly as the band pulls back.
- Keep your shoulders relaxed: Avoid shrugging your shoulders toward your ears during rows, presses, and arm work.
- Breathe continuously: Exhale during the effort phase and inhale as you return to the starting position.
Beginner Resistance Band Exercises for a Full-Body Workout
The following exercises target major muscle groups and can be done two or three nonconsecutive days per week. Begin with one set of eight to 12 repetitions for each movement. As your confidence improves, work toward two or three sets.
1. Seated Band Row
This exercise strengthens the muscles of the upper back and can help counter the rounded posture that often comes from prolonged sitting.
- Sit on the floor or on a firm chair with one or both legs extended comfortably.
- Loop the center of a long band around the soles of your feet and hold one end in each hand.
- Sit tall, with your chest open and shoulders relaxed.
- Pull your elbows back alongside your ribs, gently squeezing your shoulder blades together.
- Pause briefly, then slowly return your arms forward.
Form tip: Avoid leaning backward to create momentum. Keep the movement focused on your upper back and arms.
2. Band Chest Press
A chest press works the chest, shoulders, and triceps. It can be performed with a band anchored behind you at chest height.
- Secure a long band behind you at about chest level.
- Hold the handles or band ends with your elbows bent and hands near your chest.
- Stand in a staggered stance for stability, with one foot slightly ahead of the other.
- Press your hands forward until your arms are nearly straight, without locking your elbows.
- Slowly return to the starting position.
Form tip: Keep your shoulders down and avoid letting your lower back arch as you press.
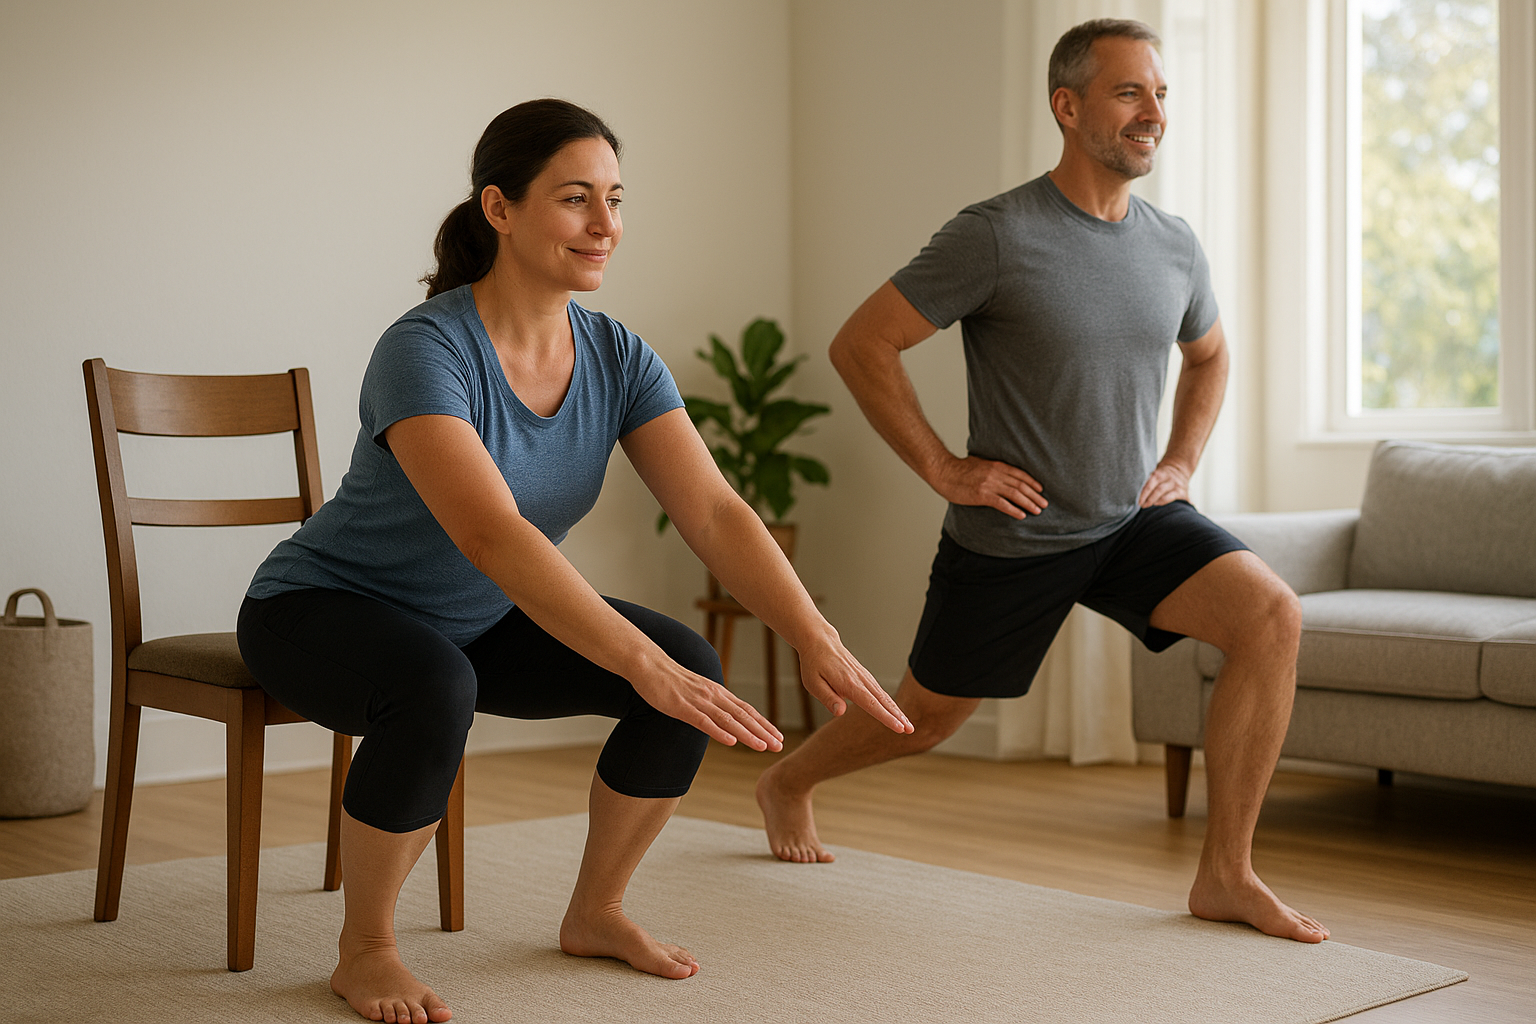
3. Band Squat to Chair
Squats help strengthen the thighs, hips, and glutes. Using a chair provides a depth target and extra confidence for beginners.
- Place a loop band just above your knees if desired, or hold a long band under your feet and at shoulder level.
- Stand in front of a sturdy chair with feet about hip-width apart.
- Push your hips back and bend your knees as if you are sitting down.
- Lightly touch the chair with your hips, then press through your feet to stand.
- Keep your knees tracking in the same direction as your toes.
Form tip: Start with a higher chair if sitting low causes discomfort or makes it difficult to stand safely.
4. Glute Bridge With Loop Band
This exercise targets the glutes and hamstrings while helping you practice hip strength and stability.
- Lie on your back with knees bent, feet flat on the floor, and a loop band above your knees.
- Place your arms by your sides.
- Gently press your knees outward against the band.
- Press through your heels and lift your hips until your body forms a comfortable line from shoulders to knees.
- Lower slowly and repeat.
Form tip: Do not force your hips higher by arching your low back. Think about squeezing your glutes as you lift.
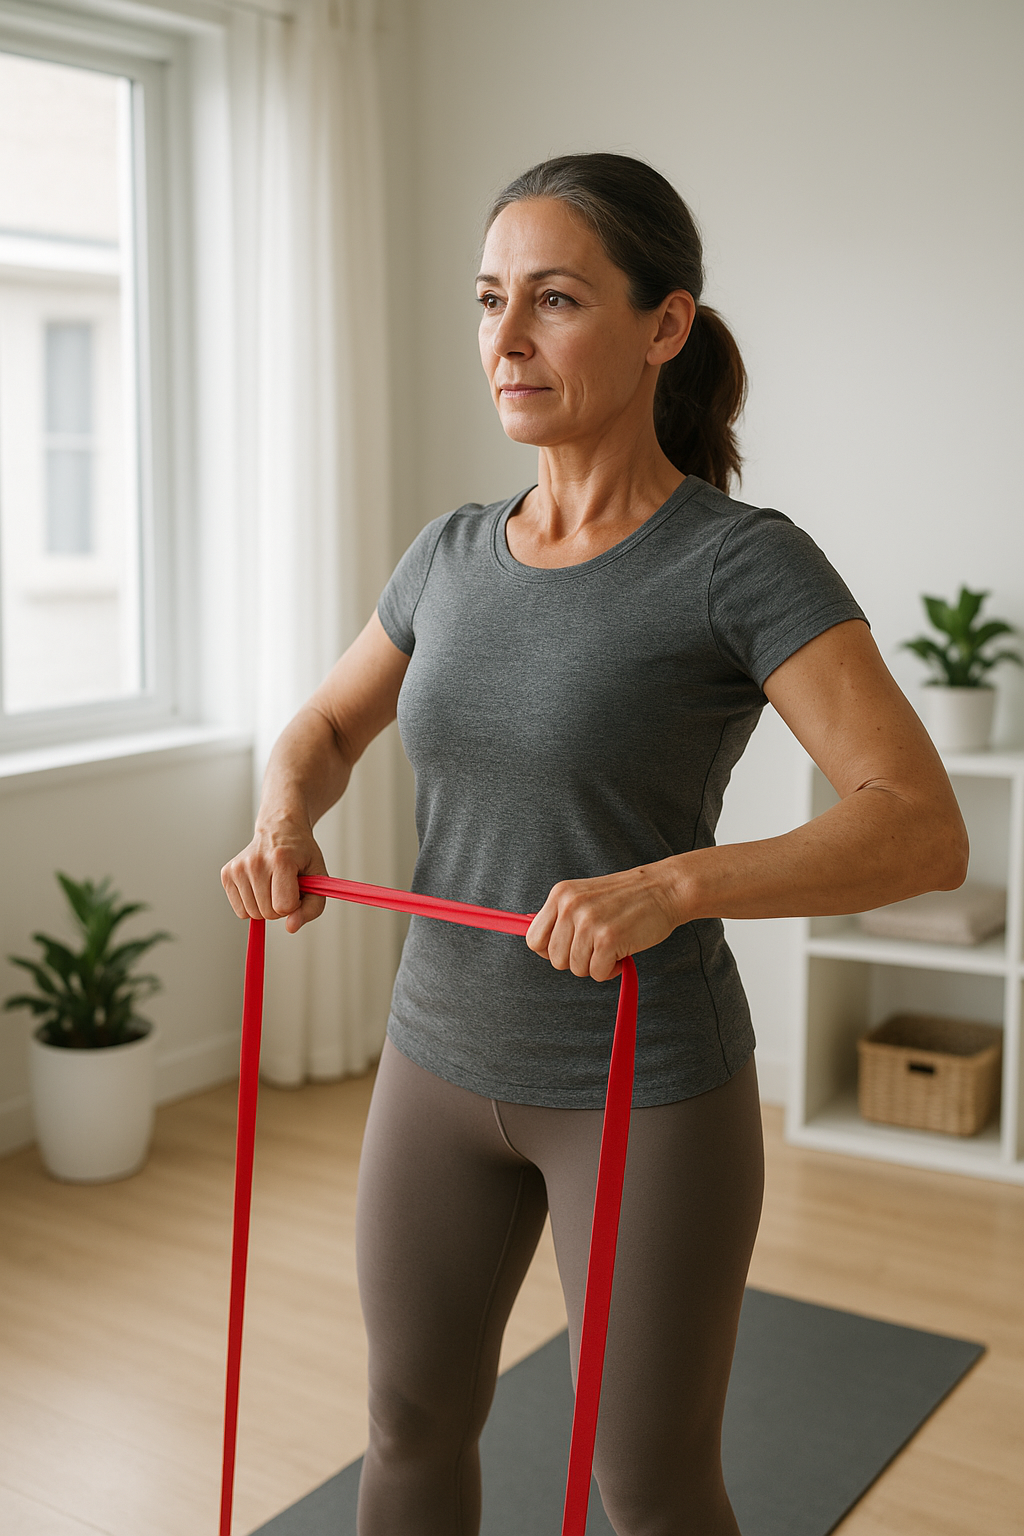
5. Standing Band Overhead Press
An overhead press trains the shoulders and arms. If raising your arms overhead causes pain, skip this movement and consider working with a professional.
- Stand on the middle of a long band with feet about hip-width apart.
- Hold the ends of the band at shoulder height with palms facing forward or inward.
- Press your hands upward until your arms are comfortably extended.
- Lower with control to shoulder height.
Form tip: Keep your ribs down and avoid leaning backward. Use a lighter band than you think you need at first.
6. Biceps Curl
Biceps curls strengthen the front of the upper arms and are simple to scale for many abilities.
- Stand on the center of a band with feet hip-width apart.
- Hold one end of the band in each hand with palms facing forward.
- Keep your elbows close to your sides as you curl your hands toward your shoulders.
- Lower slowly until your arms are straight but not locked.
Form tip: Avoid swinging your body or moving your elbows forward. If you need to swing, use a lighter band.
7. Lateral Band Walk
Lateral band walks strengthen the outer hips and glutes, which can support walking, stair climbing, and lower-body stability.
- Place a loop band above your knees or around your ankles. Above the knees is usually easier for beginners.
- Stand with feet hip-width apart and bend your knees slightly.
- Take a small controlled step to one side, keeping tension on the band.
- Bring the other foot in without allowing the band to go slack.
- Take eight to 10 steps in one direction, then repeat in the other direction.
Form tip: Keep your toes pointing forward and avoid rocking side to side.
A Simple 20-Minute Beginner Routine
Try this routine two days per week, leaving at least one rest day between sessions. Choose a light to moderate band that lets you maintain smooth, controlled repetitions.
- Warm up: five minutes of easy walking or marching in place.
- Chair squat: 8 to 12 repetitions.
- Seated band row: 8 to 12 repetitions.
- Band chest press: 8 to 12 repetitions.
- Glute bridge with loop band: 8 to 12 repetitions.
- Standing band overhead press: 8 to 10 repetitions.
- Biceps curl: 10 to 12 repetitions.
- Lateral band walk: 8 to 10 steps each direction.
- Finish with gentle walking and easy stretches for a few minutes.
Rest for about 45 to 90 seconds between exercises as needed. It is fine to start with fewer movements or fewer repetitions. Consistency matters far more than completing a perfect workout on day one.
How to Progress Safely
When your routine begins to feel easier, make only one small change at a time. Progressing too quickly can lead to excessive soreness or aggravate an old injury.
You can make resistance band exercises more challenging by:
- Adding a few repetitions while maintaining good form.
- Adding a second set.
- Using a slightly stronger band.
- Stepping farther from the anchor point to increase tension.
- Slowing the return phase of each repetition.
- Reducing rest time modestly, if your recovery is good.
A useful guide is to finish most sets feeling that you could do about two or three more repetitions with good technique. This provides a meaningful challenge without pushing every set to exhaustion.
Common Beginner Mistakes to Avoid
- Starting with too much tension: Lighter bands are not a sign of weakness. They allow you to learn the movement safely.
- Letting the band snap back: The return portion is part of the exercise. Move slowly in both directions.
- Using an unsafe anchor: Never attach a band to something that could move, tip, or break.
- Holding your breath: Steady breathing can help you move with more control and avoid unnecessary strain.
- Training through sharp pain: Muscle effort and mild fatigue are normal. Sharp, pinching, or worsening pain is a reason to stop.
- Doing too much too soon: Begin with a manageable routine and build gradually over several weeks.
Conclusion
Resistance band exercises for beginners over 40 can provide a flexible, approachable way to build strength at home or while traveling. Start with simple full-body movements, use a manageable level of resistance, and focus on controlled form. With regular practice and gradual progression, bands can become a reliable part of a balanced fitness routine that supports strength, mobility, and everyday function.